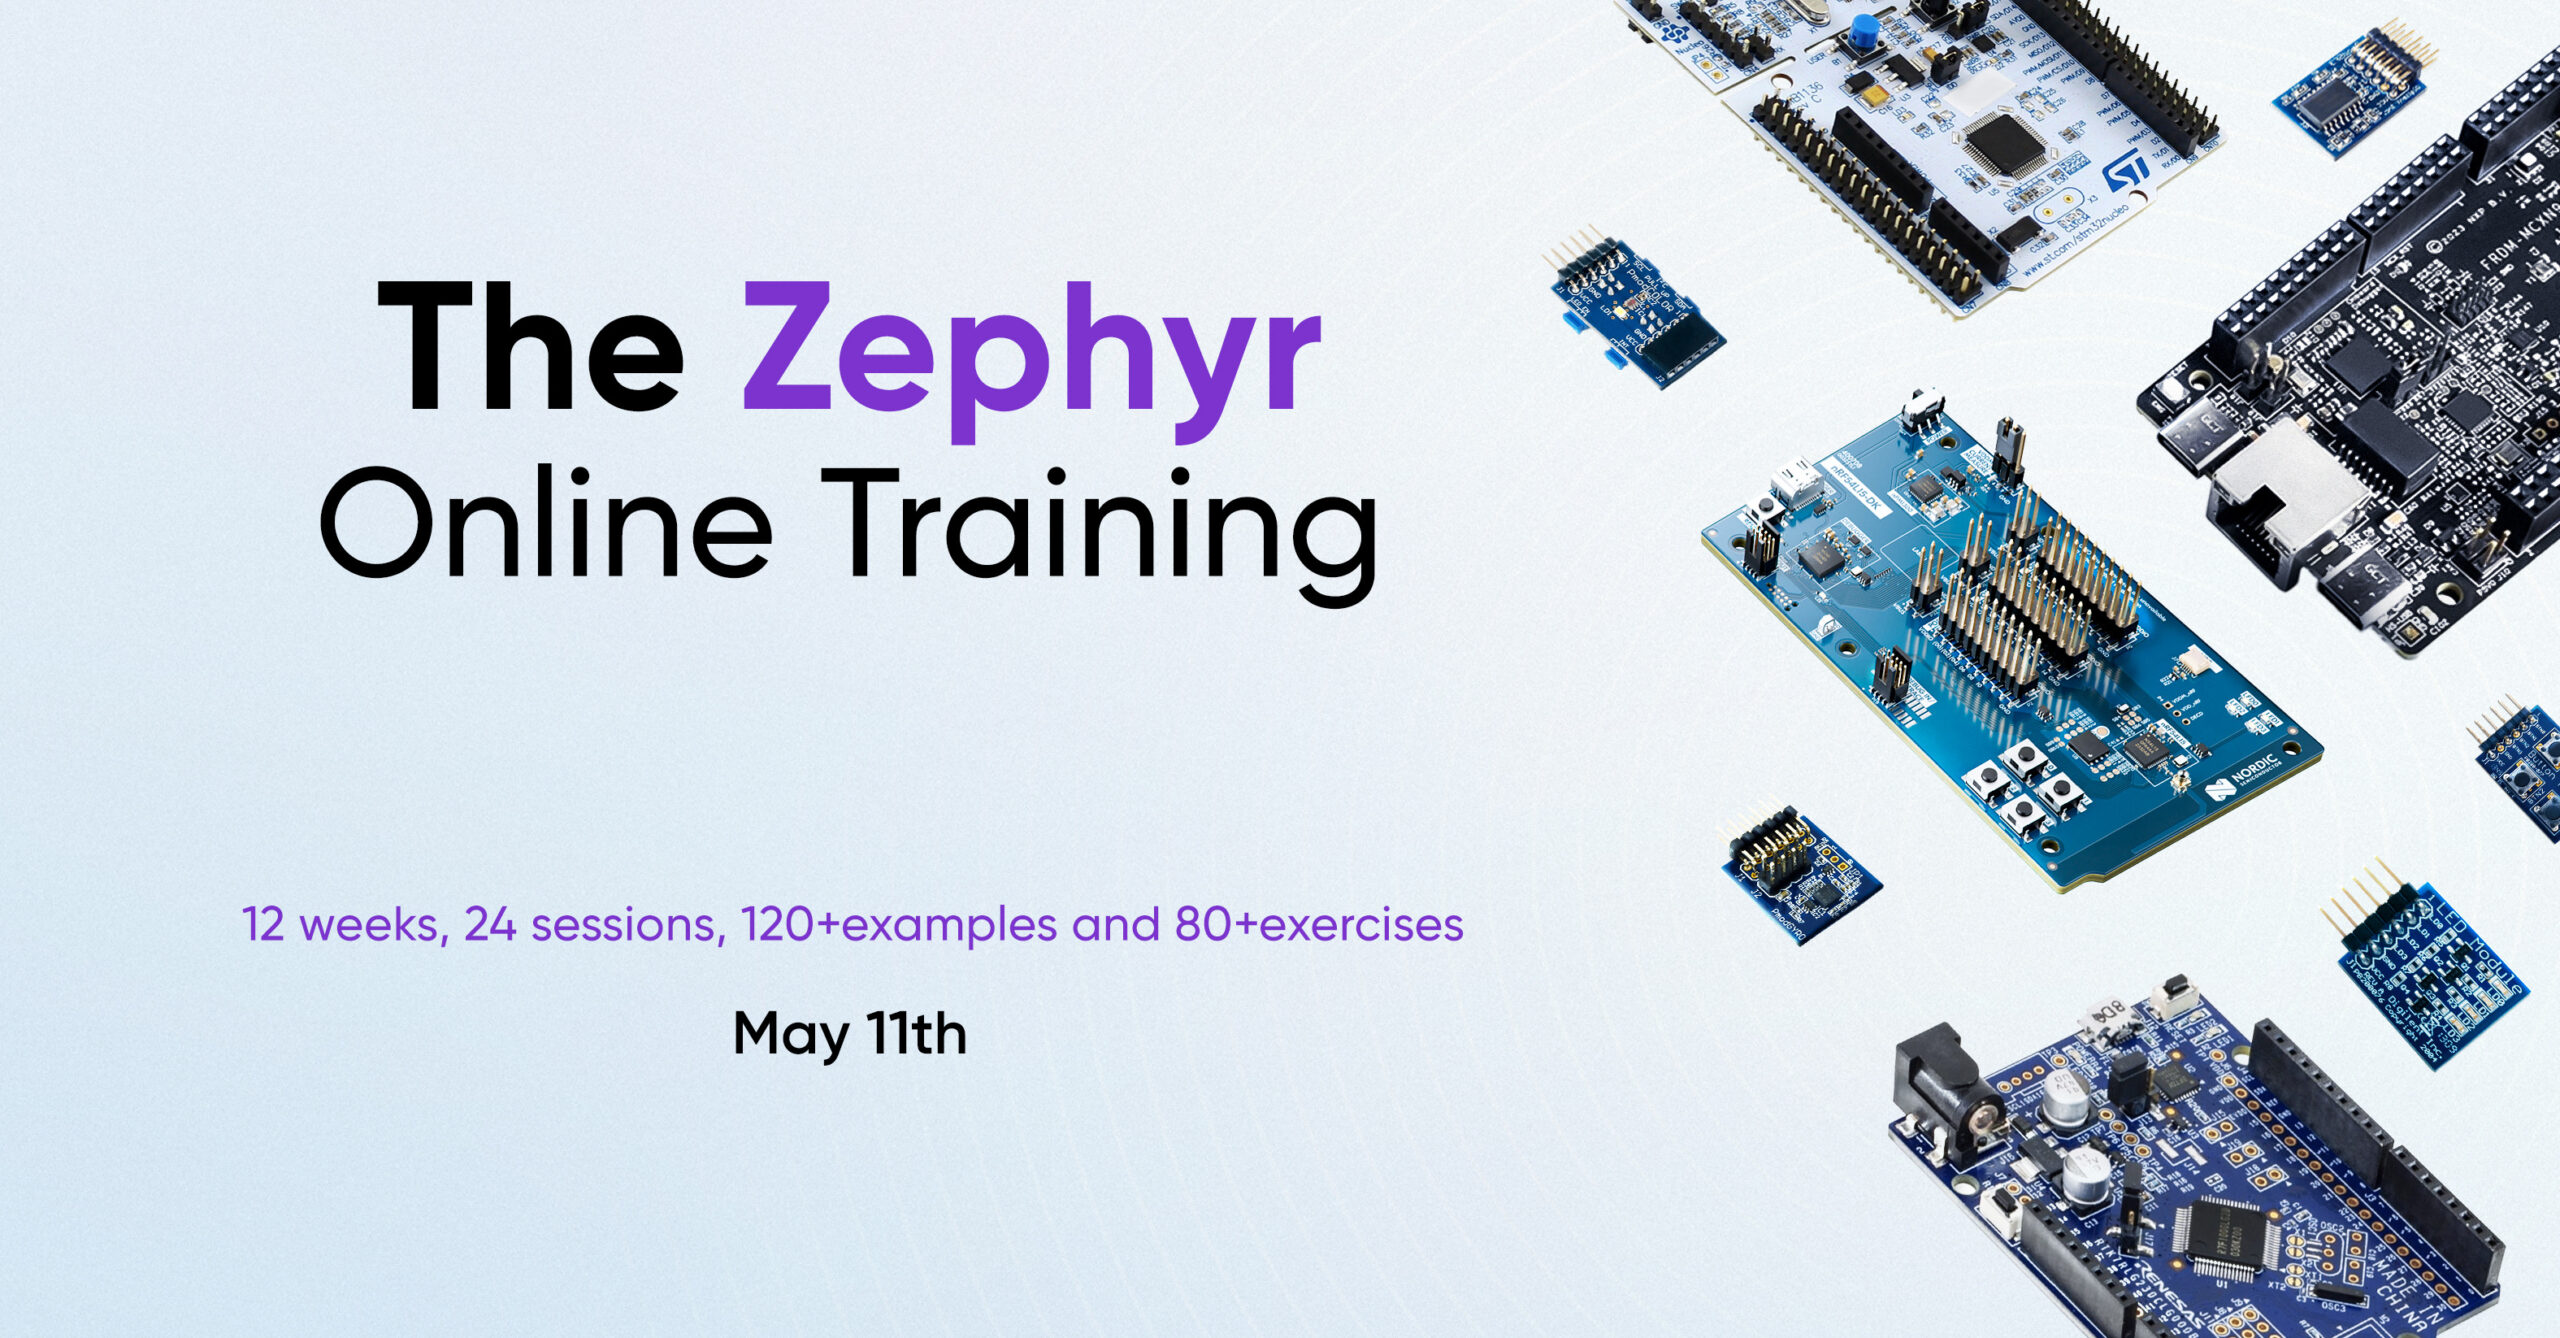
Zephyr Training
|
Advance your embedded career with this 12-week Zephyr Upskilling Training. Designed for engineers moving from bare-metal or other RTOS environments, the program delivers practical mastery of the Zephyr Project.
You will understand Zephyr’s architecture, configuration model (DeviceTree, Kconfig, CMake), peripheral drivers, kernel fundamentals, and modern communication frameworks like Zbus and RTIO. By the end, you will be able to develop drivers, define custom boards, and build robust real-time systems with confidence.
ModularMX stands as an official Zephyr Project Training Partner, delivering a curriculum authorized by the Zephyr Foundation to meet the highest standards of professional-grade embedded
Course Content
12 weeks, 24 sessions of 1.5 hours
Week 1: Foundations, Environment, and First Hardware Interaction
This week, you’ll get into the practical side of Zephyr development from the ground up. You will deploy your development environment using Docker, get to know the training board, and decode Zephyr’s project structure and configuration logic.
By the end of the week, you’ll be interacting with real hardware via GPIOs, learning exactly how Kconfig, DeviceTree, and overlay files bridge the gap between hardware description and software execution.
Week 2: Serial Communication and Interrupts
You will dive into the UART driver, one of the most critical peripherals in the field.
You’ll configure the driver to transmit and receive data with precision, exploring both polling and interrupt-driven methods. You will gain a deep understanding of how to manage interrupts manually and how Zephyr leverages them internally to keep its drivers running smoothly.
Week 3: Console, Logging, and Build Fundamentals
You will explore the power of Zephyr’s logging system, using Segger RTT and Ozone for high-level debugging.
From there, you’ll take control of the build system. You will navigate project manifests and workspace structures, learning how CMake manages the build phases and how to resolve complex configuration issues like a pro.
Week 4: Kernel Fundamentals, Threads, and Scheduling
You will dive into the heart of the operating system. You will learn to architect multi-threaded applications by defining threads and fine-tuning their priority, stack size, and flags. You’ll be a pro in the Zephyr kernel, learning to manage time-slicing, preemption, and cooperative scheduling to build a perfectly tuned, responsive system.
Week 5: Inter-Thread Communication and Synchronization
A robust program is a symphony of tasks, and you will learn how to make them communicate flawlessly. You’ll master Zephyr’s IPC mechanisms, including Queues, FIFOs, and Message Queues. To ensure your system remains predictable and safe, you will implement synchronization techniques using Mutexes and Semaphores, effectively eliminating race conditions in shared resources.
Week 6: Deferred Execution and Advanced Communication
You will learn to offload heavy processing from interrupt contexts using Work Queues, allowing your system to handle time-based events with peak efficiency. You’ll also unlock Zbus, a high-performance communication framework. You will master its channels and observers, learning exactly when to apply its four different listening modes to simplify many-to-many communication patterns.
Week 7: ADC and Sensor Interface
This week, you’ll focus on high-level sensor integration. You will start by reading raw analog signals through the ADC driver before moving up to Zephyr’s Generic Sensor Interface. This transition will teach you the vital distinction between low-level peripheral access and standardized, scalable driver abstractions.
Week 8: I2C and RTIO
You will learn to configure the I2C bus to interface with external sensors and peripherals. Beyond standard communication, you will explore RTIO (Real-Time I/O), Zephyr’s modern framework for asynchronous, high-performance I/O operations. This is where you learn to handle data at scale without blocking your system.
Week 9: SPI and the RTIO-Based Sensor Interface
You’ll start by using the high-speed SPI protocol, then take your sensor skills to the next level. You will examine the cutting-edge RTIO-based sensor interface, enabling you to perform asynchronous data acquisition that is faster and more efficient than traditional methods.
Week 10: Device Drivers from Scratch
This is the milestone where you build your own device driver from the ground up using the Zephyr Driver Model. Starting with a foundational LED driver, you will master DeviceTree bindings, initialization macros, and API definitions. You’ll then scale that knowledge to develop a fully integrated driver for an external sensor. By the end of the week, you will tie together DeviceTree, Kconfig, and CMake to create fully integrated, professional-grade drivers.
Week 11: Defining Your Own Board
This week is dedicated entirely to custom hardware. You will learn the internal architecture of Zephyr boards and how to organize hardware descriptions. By the end of the week, you will have defined a fully functional custom board from scratch, ready to be built, configured, and maintained just like an official Zephyr target.
Week 12: Startup Sequence and Contributing to Zephyr
In this closing week, you’ll analyze the startup sequence. You will see exactly where drivers initialize and what happens before that first thread even runs. As you wrap up your journey, you’ll learn how to contribute back to the Zephyr Project, turning your new expertise into a lasting impact on the global open-source community.
For more information:
Requirements
- Computer with Teams and Docker installed
- Previous experience with Cortex-M microcontrollers
- Experience working with GPIOs, UART, SPI, I2C, ADC, and interrupts
- Understanding of memory management
- C programming (structures, arrays, and pointers)
- Basic knowledge of CMake and debugging tools
- Operating system concepts (recommended)
Tools
- Any Cortex-M board supported officially by Zephyr (see F.A.Q. section)
- Agilent pmod boards: Pmod-Leds, Pmod-Btn, Pmod-Gyro, Pmod-Acl
- At least two potentiometers
- Docker, Docker Compose, DevContainers, VS Code
- On-board Segger J-Link, Ozone, and SystemView (optional)
Resources

Access to application notes

120+ code snippets

Beautiful presentations

70+ practical exercises

Offline support on Slack channel

10 participant groups

Online live sessions
Badge and Certificate of Completion
Tutor
Embedded software engineer with more than 18 years of experience developing complex real-time systems across multiple microcontroller architectures, serving industries such as automotive, IoT, appliances, and industrial automation.

Free
Self-paced learning with limited access.
Free
Limited access to course content using Embedded House
Access to our Docker Hub
Professional
Mentored with a hardware kit.
$3,200 USD
Full access to the course content
Dev kit included
Weekly group mentorship
Verified Certification
Badge and Certificate of Completion
Enterprise
Custom training for engineering teams.
Custom
Full access to the course content
Custom driver modules
Dedicated support
F.A.Q.
Which development board will be used during the training?
You can use any board you prefer, as long as it meets these requirements:
- Cortex-M microcontroller running at 64 MHz or higher
- At least 40 KB of SRAM
- Access to SPI, I2C, 4 GPIOs, and two ADC channels
- Official support in the Zephyr upstream repository
- On-board debugger and serial interface (J-Link recommended)
Do I need the exact PMOD modules mentioned in the course?
Not necessarily. The PMOD modules are used as references for the examples and demonstrations.
If you prefer, you can use your own LEDs, buttons, or sensors connected to a breadboard. However, if you choose different SPI or I2C sensors, you will need to adapt the code yourself.
For the ADC exercises, you will need at least two potentiometers, since there are no PMOD modules specifically designed for this.
Can I use Arduino shields or MikroBUS Click boards?
Yes, you can. Just keep in mind that you will need to wire them correctly and adapt the code to make them work with your board. Because of the large number of available sensors and modules, the course cannot provide specific support for all of them.
Do I have to complete all the exercises?
No. The exercises are optional but highly recommended. They are designed to reinforce the concepts covered in the course. The more exercises you complete, the more confident and comfortable you will become working with Zephyr.
What materials will I receive during the training?
- Application notes in PDF format
- Hands-on exercises
- Access to example projects and code
These materials will help you continue practicing and building your own Zephyr projects after the course.
Which boards are officially supported in the course examples?
Some examples will include specific support for the following boards:
- ST Nucleo-STM32G0B1RE
- ST STM32H573I-DK
- Nordic nRF54L15
- NXP FRDM-MCXN947
These are the recommended boards for the training. However, if you are already familiar with another Zephyr-supported board, you may use it.
For the demonstrations, the instructor will primarily use an STM32H5 board together with PMOD modules and a J-Link debugger.
When will the live sessions with the instructor take place?
There will be two sessions per week, on Mondays and Thursdays from 6:00 pm to 7:30 pm CST (UTC-5). There will also be offline support through our dedicated Slack channel, where participants will have access to ask questions and receive guidance throughout the training.
Get in touch
Ready to master Zephyr? Reach out today to get your questions answered directly by one of our engineers.